Hooking up with Rain's Thursday Art Date!
Thursday, March 31, 2022
TAD: Mermaids and Water Creatures
I have no mermaids to show, but I do have some photographs I took last year of water critters in our unexpected frog pond.
Tuesday, March 22, 2022
AYWMC: Part 3 Lesson 2: Quality of Light
This post is part of a series entitled A Year With My Camera.
Lesson 3.2 in my own words
- Quality of light refers to how hard or soft it is
- Hard light is direct and casts distinct, contrasting shadows
- Soft light is indirect or filtered, and casts indistinct, often unnoticeable shadows
- Light quality is a spectrum
- Preference for quality of light is subjective
- To determine, examine the shadows
- Is the eye drawn to the subject or the shadow?
- To change hard light to soft light for a single subject (eg. a flower), add an overall shadow (such as a hand) to soften harsh shadows
This week's project
Make a study of shadows without using the flash.
- Range of hard to soft
- Natural and artificial light
- Naturally occurring and create your own
- Experiment with different diffusers (something placed between light and subject to diffuse the light)
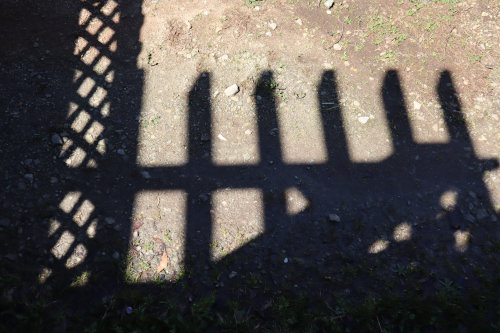 |
| Bright sunny day, late morning |
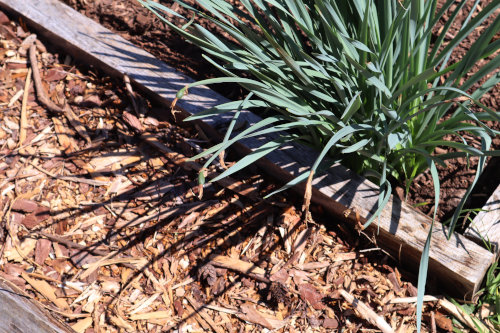 |
| Early afternoon on a bright sunny day |
 |
| Late afternoon on a sunny day. |
 |
| Late afternoon on a sunny day |
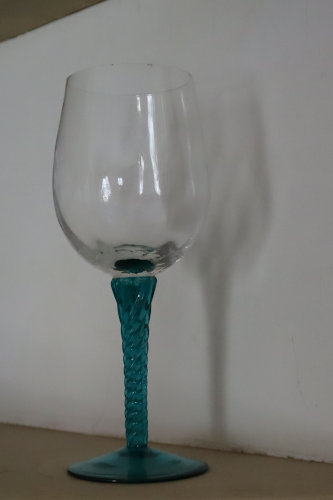 |
| Natural daylight from a window |
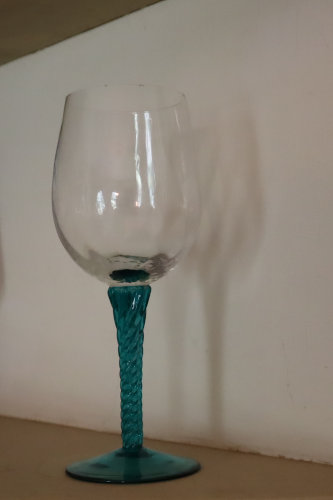 |
| Natural window light + overhead electric light |
 |
| Light from the window + nearby electric table lamp |
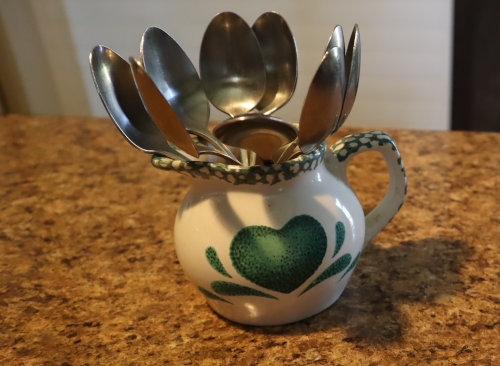 |
| Daylight through the windows + overhead kitchen light |
 |
| Combination of hard and soft shadows |
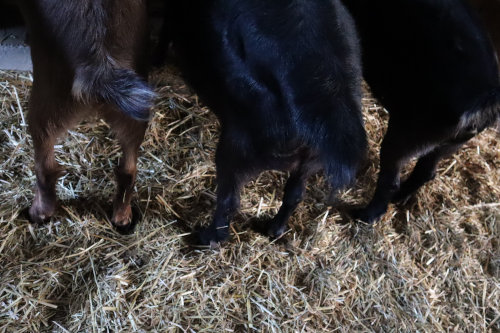 |
| In the barn before sunrise |
 |
| Overcast morning |
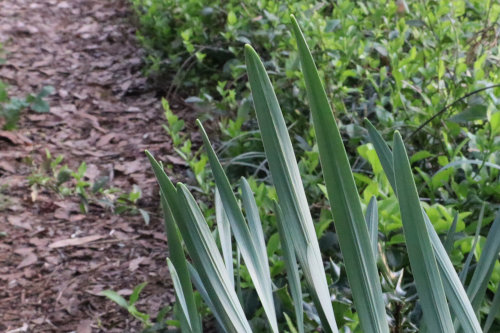 |
| Overcast morning |
What I learned
I've always been aware of how light affects a potential photograph. I've never liked bright harsh daylight and prefer outdoor photographing on overcast days. Even with drawing, I focus on where the light hits the subject and adjust the shadowing to feature the light. This assignment asked me to concentrate on shadows. Shadows became the subject matter and it caused me to look at light a bit differently.
Other things I observed that affect shadows:
- The time of day.
- The type of indoor lighting (natural or artificial). One thing I notice about this is the color of the light. Artificial lights are warmer in tone.
- Number of sources of light. For example, the double shadows from the wineglass stem. One light source was the window, the other was the ceiling light.
Now that my attention has been drawn to shadows, I realize what interesting things they are.
Monday, March 14, 2022
AYWMC: Part 3 Lesson 1: Light Direction
This post is part of a series entitled A Year With My Camera.
Lesson 3.1 in my own words
- The word "photography" comes from the Greek words "photos" (light) and "graphe" (drawing). So photography can be thought of as drawing with light.
- Four things the photographer needs to know about light:
- the direction the light is coming from
- the quality of light
- the color of the light
- the dynamic range of the light and fill lights
- There are two ways a photographer controls light:
- By controlling the amount of light hitting the camera's sensor
- By treating light as an individual element of the image:
- Direction of the light - move yourself in relation to the subject
- Quality of the light - move your subject in relation to the light
- Putting modifiers between the light and your subject
- Use a setting on your camera to control how the color of light is rendered on your final image
- Learning to see the light.
- Look around and pay attention to the light
- Where is it coming from?
- How bright is it? Is it brighter in one area than another?
- How many sources of light can you see?
- Which source is the strongest?
- The brain will try to even everything out. Learn to see the light as it really is, not as your brain wants you to see it.
This week's project
Using available light (indoors or out but no flash) photograph a plain,
smooth object in at least 6 different lighting situations.
- lit from above
- lit from below
- lit from the front
- lit from the back
- lit from the left
- lit from the right
- anything else you want to try
 |
| Above |
 |
| Below |
 |
| Front |
 |
| Back |
 |
| Left |
 |
| Right |
What I learned
This is an exercise I've done in all my drawing classes, but it was still interesting doing it with a camera. It's easier than drawing it because I didn't have to pay close attention to it to replicate it, but the affect is the same.
Wednesday, March 2, 2022
AYWMC: Part 2 Lesson 4: Advanced Composition Techniques
This post is part of a series entitled A Year With My Camera.
Lesson 2.4 in my own words
- Think about what you're trying to say with your photographs. How do you want them to speak to the viewer?
- Composition is the language of photography. It's the backbone of a photograph.
- Think about:
- Where do you put everything in the frame?
- What do you leave out?
- How do the elements relate to one another?
- How can you use these principles to translate the scene you see into the finished image you see in your head?
- With practice, composition will come naturally.
This week's project
- Answer this question - "Why do you take photographs?"
- Try some of these advanced composition techniques:
- Visual weight
- What elements draw the viewer's attention?
- Do they compete with or distract from your chosen focal point?
- What's leaving the frame? Don't let cut-off objects on edges distract from the subject.
- What's overlapping? Give each element it's own space.
Why do I take photographs? I've been thinking about this and have pinpointed two reasons: documentation and communication. I don't see myself as an artist, so my photography isn't driven by a desire to create. Neither an I trying to elicit an emotional response from the viewer. Rather, my motive is to record the when, how, and why of our lifestyle, including its sorrows and joys. Even so, I want my photos to be interesting to look at and aesthetically pleasing. And I do enjoy the creative challenge to make them that way. So, I suppose I can add "personal satisfaction" to the reasons why I take photographs.
Practicing the composition techniques.
 |
| Visual weight: the eye is repeatedly drawn to the subject. I like that there is good contrast with the background, and that the branches create diagonal leading lines, all leaning toward the subject. |
 |
| What's leaving the frame? I understand this concept, but my usual method of photography is simply to take a bunch of pictures and then crop them in Gimp. |
 |
| Now, I'm trying to be more deliberate in analyzing the composition of my shots beforehand. For this one, I changed my point-of-view. |
 |
| Overlapping. Taking photos of animals is tough because they don't pose and they don't stay put. |
 |
| Even though their bodies are overlapping, I think this photo works because each of their heads has a defined space. |
And that concludes part two of A Year With My Camera.
Subscribe to:
Comments (Atom)


