This post is part of a series entitled A Year With My Camera.
Lesson 6.1 in my own words
- The primary reason to use a tripod is to eliminate camera shake.
- Allows for longer shutter speeds
-
Anything longer than 1/60th of a second, handheld, will produce camera
shake.
- Example: to capture motion blur
- Captures movement as a blur
- The rest of the image in pin-sharp
- Examples: water falls, moving water, fireworks, light painting
- How to use a tripod
- Make sure the base plate is tight
- Make sure all the legs are firmly locked
- Frame your composition
-
If you have trouble seeing through the viewfinder, try using the live
view screen
-
If your camera has a tiltable LCD screen, you'll find it even easier
- Choose your settings
- For shooting macro
- Use mirror lockup
- Then use a cable release or self-timer to fire the shutter
- Tripod alternatives
- Put the camera on the ground
- Put it on a pile of books
- Or a bag of rice
- With any of these use the self-timer.
This week's project
- Capture motion blur
- waterfall
- waves
- moving tide
- car trails at night
- running tap water
- anything that moves
- Basic steps
- Secure camera with a tripod or one of the alternatives
- Low ISO to maximize quality (100 or 200)
- Use cable release or camera timer to avoid camera shake
-
If the camera isn't mirrorless, consider using the mirror lock function.
-
Experiment with shutter speeds. For moving water, start at 1/2 second.
- On shutter priority mode
- The camera will use aperture to adjust exposure.
-
You may need to use the exposure compensation dial to increase or
decrease exposure.
- To shoot manually
- Choose shutter speed
- Choose a fixed ISO
- Use aperture to get the exposure you want.
- Pay attention to
- Aperture
- Where you have focused
- Estimate depth of field or use field preview button
- Composition
- Think how the water will shape on the final image.
- Review as you go
- Light painting or trail lights
- Set up in a dark, safe place.
- Set the shutter speed for at least 5 seconds
-
Move in front of the lens with a flashlight and start painting. If you
keep moving, you won't show up on the final image.
- Or use cars as the subject
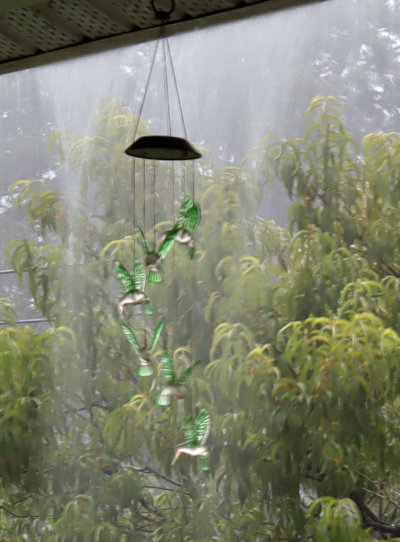
We've been having heavy rains this week and it occurred to me that the water overflowing the front porch gutter would be perfect for this assignment. I took the first two photos with the camera's auto setting.
 |
| Exposure 1/160th sec., ISO 800, aperture f/3.5 |
 |
| Exposure 1/60th sec., ISO 320, aperture f/3.5 |
For the following photos, I used the TV (time value) setting and chose a fixed ISO of 100. The camera chose the aperture.
 |
| Exposure 1/30th sec., ISO 100, aperture f/3.5 |
 |
| Exposure 1/8th sec., ISO 100, aperture f/4.5 |
 |
| Exposure 1/2 sec., ISO 100, aperture f/8 |
 |
| Exposure 1 sec., ISO 100, aperture f/13 |
 |
| Exposure 2 sec., ISO 100, aperture f/20 |
 |
| Exposure 4 sec., ISO 100, aperture f/22 |
What I learned
- That I have a lot to learn, lol. Because the duration of the downpour was uncertain, I felt rushed and couldn't really think about what I was doing. I'm thinking that a better learning exercise would be a waterfall or more consistently moving water.
- Because the camera chose the aperture, it did give me a chance to see the effect of these changes on the images.
- Also, I didn't use a tripod, but rather set the camera on the cat tree on the front porch. This seemed to work fairly well, but I think I would have had better results if I'd used the timer. I think that might have helped with the blurring (camera shake). But to do that I would have had to check my user's manual to figure it out and didn't want the heavy rain to pass.
- I need to try this again, taking more time to set up better.


