Tuesday, April 26, 2022

AYWMC: Part 4 Creativity: Lesson 2 Selective Attention

This post is part of a series entitled A Year With My Camera
 
Lesson 4.2 in my own words
  • Looking versus seeing
  • Sometimes, when we're simply looking around, we see things colored by our expectations.
    • Our brains sometimes ignore details
    • Or don't see objects in their actual perspective
    • Or an emotional response colors our perception
  • The camera, on the other hand, just records the light that hits its sensors.
  • Disappointing photographs can happen when we don't see the scene as it really is.
  • The key is to actively see what's in front of you, not passively glance around

This week's project

The following exercises are designed to help actually see what you're looking at. Choose at least one:
  • Finding photo opportunities
    • Just start taking photos. Don't worry about settings or exposure, light or composition.
      • Focus on one small area in front of you. 
      • Take any photograph.
      • Now move a bit and take another.
      • Continue until you have 20 shots.
    • You should find that the act of starting to take photos will spark new ideas.
  • Focus on the frame 
    • Limit yourself to just 24 shots.
    • Don't use your LCD preview screen
    • Pay attention to every detail in the frame before pressing the shutter
    • Leave them a couple of days before looking at them
    • This is how film photographers learned to make the most of every shot.

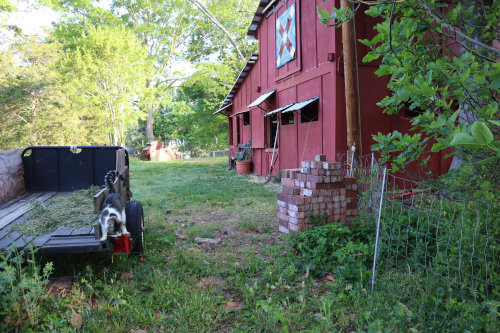
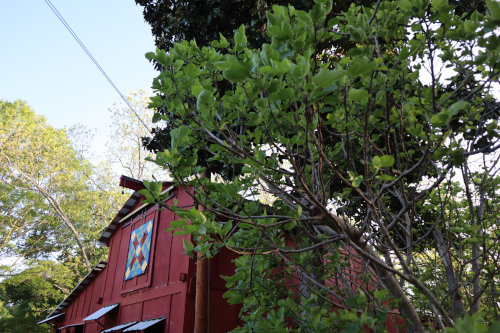
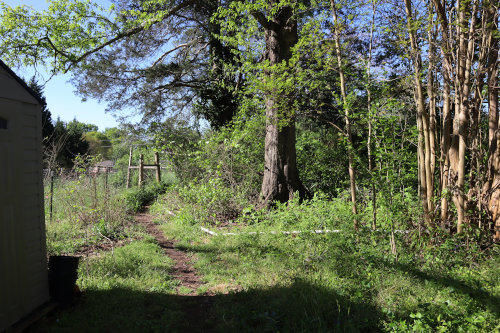
I chose the first exercise, "finding photo opportunities."


What I learned

This assignment was challenging to me because I'm not usually in a creative-only photography mode. I usually want a photo of something specific for documentation. My motive for taking the course was to simply make them better! That being said, I like being challenged, and so appreciated this exercise. I think this technique would be especially useful when out and about with lots of people and activity. Snapping shot after shot like this could result in some interesting images.

Tuesday, April 19, 2022

AYWMC: Part 4 Creativity: Lesson 1 Using Boundaries

This post is part of a series entitled A Year With My Camera
 
Lesson 4.1 in my own words

Creativity can be learned.
  • To develop creativity
    • Be willing to make mistakes
    • Learn to analyze the photograph without criticizing the photographer (i.e., yourself)
    • Stop calling mistakes, 'mistakes' because that implies it's wrong. Each photograph is an essential step on the creative journey. 
    • Ultimately, we learn creativity by doing, not by reading about it.
  • Things that sabotage creativity
    • Focusing on things that inhibit forming new ideas
      • television
      • social media
      • reading
      • life and family issues
    • Shutting down ideas before they're developed (Eg. "I can't do that.")
    • Focusing on technical details rather than just experimenting
    • Worrying about what other people will think

This week's project

It's nearly impossible to be creative without a goal. Setting boundaries shapes a goal and frees us to explore that goal to its fullest.

Pick one. May use auto or manual controls, but set these ahead of time and use the same settings for the entire exercise. Finish the assignment even when you run out of ideas:
  • Time restriction 
    • take a photo every 5 minutes for an hour
    • use a timer
    • spend no more than 5 seconds looking for an image
  • Subject restriction
    • pick one inanimate object
    • take 20 completely different portraits of it
  • Kit restriction
    • choose the piece of your camera kit that you use the least
    • Create 20 photos with it

I chose time restriction.


What I learned

The purpose of the assignment was (quoting the instructor), "If you impose some artificial limits, your brain will respond like magic. . . I'm going to give you a few artificial constraints to try this week. . . No cheating. You will run out of ideas at some point but you must keep going, keep taking photos, even though they are not going to be your best work. The process of finding images will train the neurons in your brain that this is what you want it to do when you next start looking for images, and so then next time it will be easier."

This was challenging because I do a lot of mental planning before a take a shot. I learned early on that the cutest baby picture is spoiled by cluttered, messy surroundings. That taught me to evaluate each shot and set my stage (which is one of the things listed as impeding creativity!). Plus, I find I'm applying what I've been learning in this course, which often means making manual adjustments to brightness and light before shooting.

So there was that, and neither did I want to be wandering around aimlessly, thinking about what to take pictures of. So I set my tasks as first hanging out the laundry and then heading to the garden, where there is an ongoing list of things to do. A package arrived while I was working with the laundry; live plants I'd ordered. I set them in water immediately, and when I got to the garden, started working on a place to plant the grape plant. It's not that I was planning out some sort of story; I just needed to keep my mind occupied with an easy task at hand until the timer went off.

Composition and lighting-wise, there are things I wish were different about each of the photos I took. But it's also very helpful to just be able to shoot, and not worry about details. I know I've missed good shots by fussing with details. That's a habit that would be good to break.

Sunday, April 10, 2022

AYWMC: Part 3 Lesson 4: Fill Light

This post is part of a series entitled A Year With My Camera.  
 
Lesson 3.4 in my own words
  • Strong light from one source creates high contrast and hard shadows
    • Creates high dynamic range (HDR)
      • image is very bright on the light source side
      • very dark on the other side
    • Occurs because the camera's sensors have a smaller dynamic range than the eye.
  • Fill light is secondary lighting to soften contrast and shadows
    • Reduces the HDR by reducing the dynamic range of the whole image
    • Created by shining light onto the shadows
    • Can be another light source
    • Can be a reflector

This week's project

  • Take 2 photos
    • Photo 1
      • Take a photo with strong directional light (bright sunlight)
      • Note the strong shadows
    • Photo 2
      • Repeat the first photo with a reflector opposite the light source
      • Note the softened shadows
  • Bonus photos
    • Experiment with the reflector closer or farther away
    • Experiment with aluminum foil or a mirror

I used white poster board for a reflector.

Photo 1 - no reflector

Photo 2 - with reflector

For the bonus photos, I used the white poster board reflector, each time moving it a little closer to the subject.

Bonus photo 1

Bonus photo 2

Bonus photo 3

The closer the reflective surface, the brighter the dark side of the subject. In the third photo, it looks like the reflector was the primary light source.

What I learned

I usually try to avoid taking photos in the direct sunlight because of the contrast. Now, I understand why it seems so harsh and what to do about it.

AYWMC: Part 3 Lesson 3: Color of Light

This post is part of a series entitled A Year With My Camera.  
 
Lesson 3.3 in my own words
  • Color has temperature
  • Measured in Kelvins
    • Candlelight has an orange cast and is the warmest, about 1,000K
    • Daylight is mid-range, about 5,200K
    • Bright blue sky is about 8,000K
  • Artificial indoor lighting, especially, can throw color temperature off.
  • White balance is a function on the camera that can correct color.
    • Auto White Balance (AWB) - the camera guesses at correct color temperature
    • Photo editing software can correct color temperature
    • Manual white balance is the best option - consult your camera's user's manual

This week's project

Choose a subject, preferably white or neutral in tone, and photograph it with different types of light. 
  • For example:
    • Indoor lighting (try various)
    • Direct sunlight
    • Indirect sunlight (cloudy conditions or in the shade)
    • Candlelight
    • Computer monitor light
  • Try one set of images on auto white balance
  • Try changing the color temperature setting manually

I'm behind in my photography homework and don't want to get behinder (😉), so I did a modified experiment to at least become familiar with the concept. I chose an indoor subject with artificial lighting, because these are the subjects with which I notice how much the color is "off." No flash.

AWB

2500K

3500K

4500K

5500K

6500K

7500K

10.000K

What I learned

I learned how to find the white balance adjustment on my camera (Canon M50) and what options are available. Besides automatic, there are a number of pre-set adjustments that can be chosen, as well as manual temperature adjustment (called 'custom'). 
  • Auto 3000-7000
  • Daylight 5200
  • Shade  7000
  • Cloudy, twilight, sunset 6000
  • Tungsten light 3200
  • White fluorescent light 4000
  • Custom  2500-10000
I didn't experiment with the pre-sets, just the custom setting.

I learned that nothing in the photo's metadata records which white balance setting is used. I had to write these down on a card as I took the shots. I also discovered that Gimp has a color temperature function, but it starts at a default setting. It doesn't read what the camera was set to when the photo was taken, but it can be used to correct color temperature after the fact.

All of this is good to know. I think AWB did pretty well, noting that this was without flash. Flash always seems to warm the color up a bit.